


You'll have your Venetian blinds installed in no time with this handy guide.
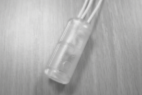
When your Venetian blinds arrive you will need a handful of common tools to put them up in a matter of minutes:
You will need:

A drill with correct bit

A crossheaded screwdriver

A metal tape measure

A pencil
You should have:
x1 safety cleat
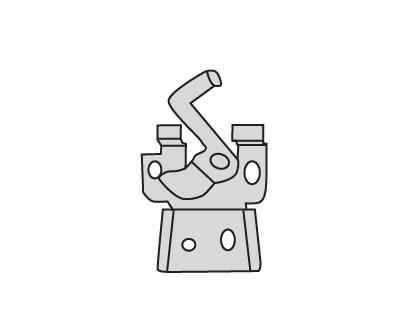
brackets (quantity to suit length of blind)
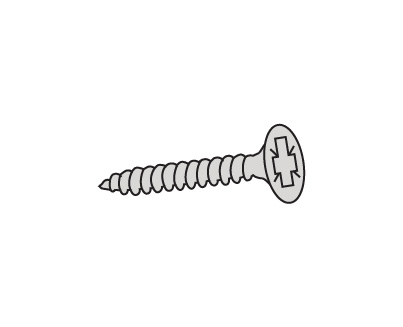
x4 wood screws only
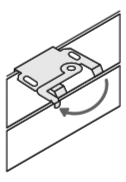
1. Fix the brackets
|
|
|
|
|
2. Fit the blind
|
|

3. Fitting the safety cleat
- Blinds that require a safety cleat must not be installed less than 1.5m from the floor. Safety cleats are designed to keep cords taut and out of reach of children –always wrap the cord around the cleat. Clip the front inside edge of the head rail onto the bracket, at a slight angle away from you, and push up into place at the back.
- Blinds that require a safety cleat must not be installed less than 1.5m from the floor. Safety cleats are designed to keep cords taut and out of reach of children –always wrap the cord around the cleat.
- If more than one cleat is required for the complete amount of cord to be wrapped around, ensure that they are positioned no further apart than 20cm and both are no closer to the floor than 1.5m
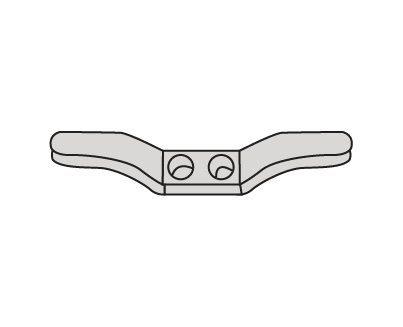
4. Re-assemble the cord consolidator
- Note - the safety tassle is designed to come apart to remove a hazardous loop.
- Should your device become separated, any free cords should be placed into one of the holes that are formed when the two halves of the tassel are put together.


Safety tips
There are things that you can do to reduce risk in your home.
- Move beds, cots and furniture away from the window.
- Do not let cords or chains hang loose. Make sure they are kept out of reach of children at all times. Do not tie loose cords and chains together.
- Check the condition of all safety devices if not used regularly and replace if the device is faulty.
Operating your blind
Warning
- Blinds can be potentially dangerous to small children. Please be aware that swallowing small parts can cause internal asphyxiation. Looped or low hanging cords, chains or tapes can create hazardous loops which could lead to the risk of strangulation. We do everything we can to ensure your chosen product is child safe. As a minimum all of our blinds meet the European Standard BS EN 13120 for safety. Our instructions and the supplied Child Safety device(s) are intended for you to ensure that your blind is as safe as possible.
- The information below gives guidance for fitting the provided child safety devices. All safety devices must be correctly installed for the protection from strangulation of young children and the proper use of the blind. Please read the instructions carefully and keep safe for future reference.
- Only use the devices and cords provided with your blind. Videos showing how to fit and reconnect child safety devices are available, along with replacements at: www.makeitchildsafe.co.uk.

In a hurry? Why not download our PDF version for later!
Shop our favourite Venetian blinds!

Hammered Grey Venetian Blind
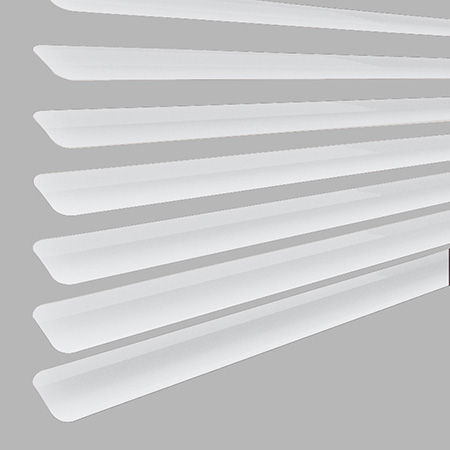
Polar White Venetian Blind

Regal Blue Venetian Blind
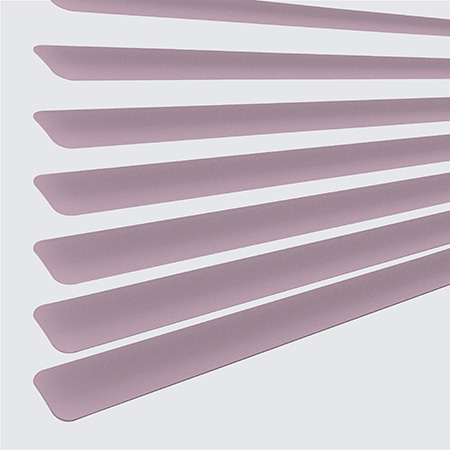
Mauve Venetian Blind
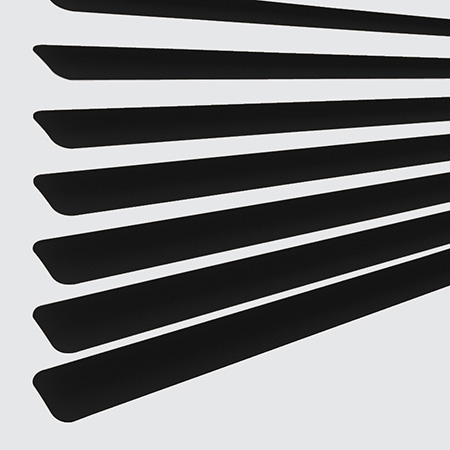
Satin Black Venetian Blind

Sail Venetian Blind