A handy guide to installing your Wooden Venetian blinds
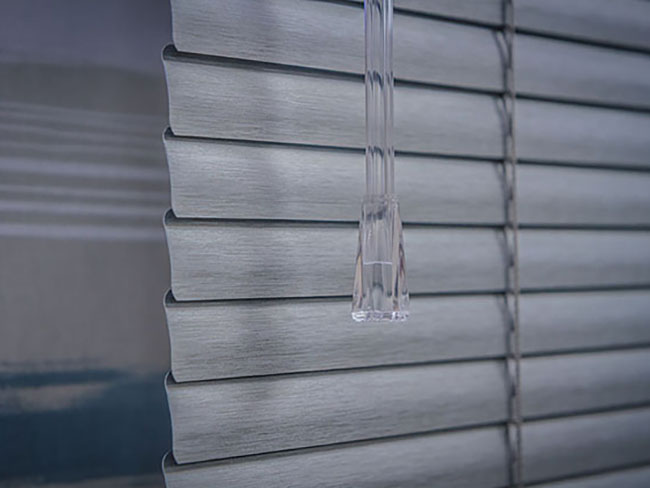
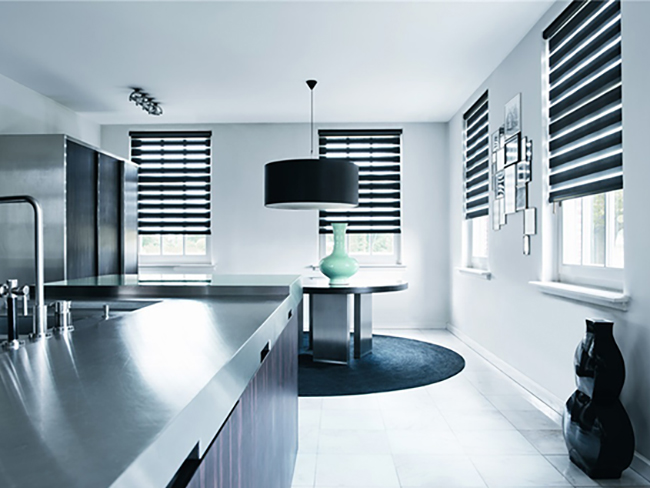
Venetian blinds are a simple, stylish and cost-effective choice when it comes to dressing your window. They are a versatile choice for any room in your house. Our made to measure Wooden blinds are crafted from the highest quality materials including premium hardwood slats.
Venetian blinds are easy to install and can be done in a matter minutes with just a handful of common tools. We’re going to take you through the installation process step by step!
Here’s how to install your Wooden Venetian blinds
What you’ll need:
- A drill with the correct drill bit
- A crosshead screwdriver
- A metal measuring tape
- A pencil
Step 1 - Fix the brackets
- The brackets are a universal type that can be used to top fix the blind into a recess or face fix into a frame or a wall. Handy eh!
- Hold a bracket in position and mark where the screws will go, using the relevant holes in the bracket as a guide. Always ensure the brackets are positioned a suitable distance away from any window handles or obstructions to allow the blind to operate smoothly.
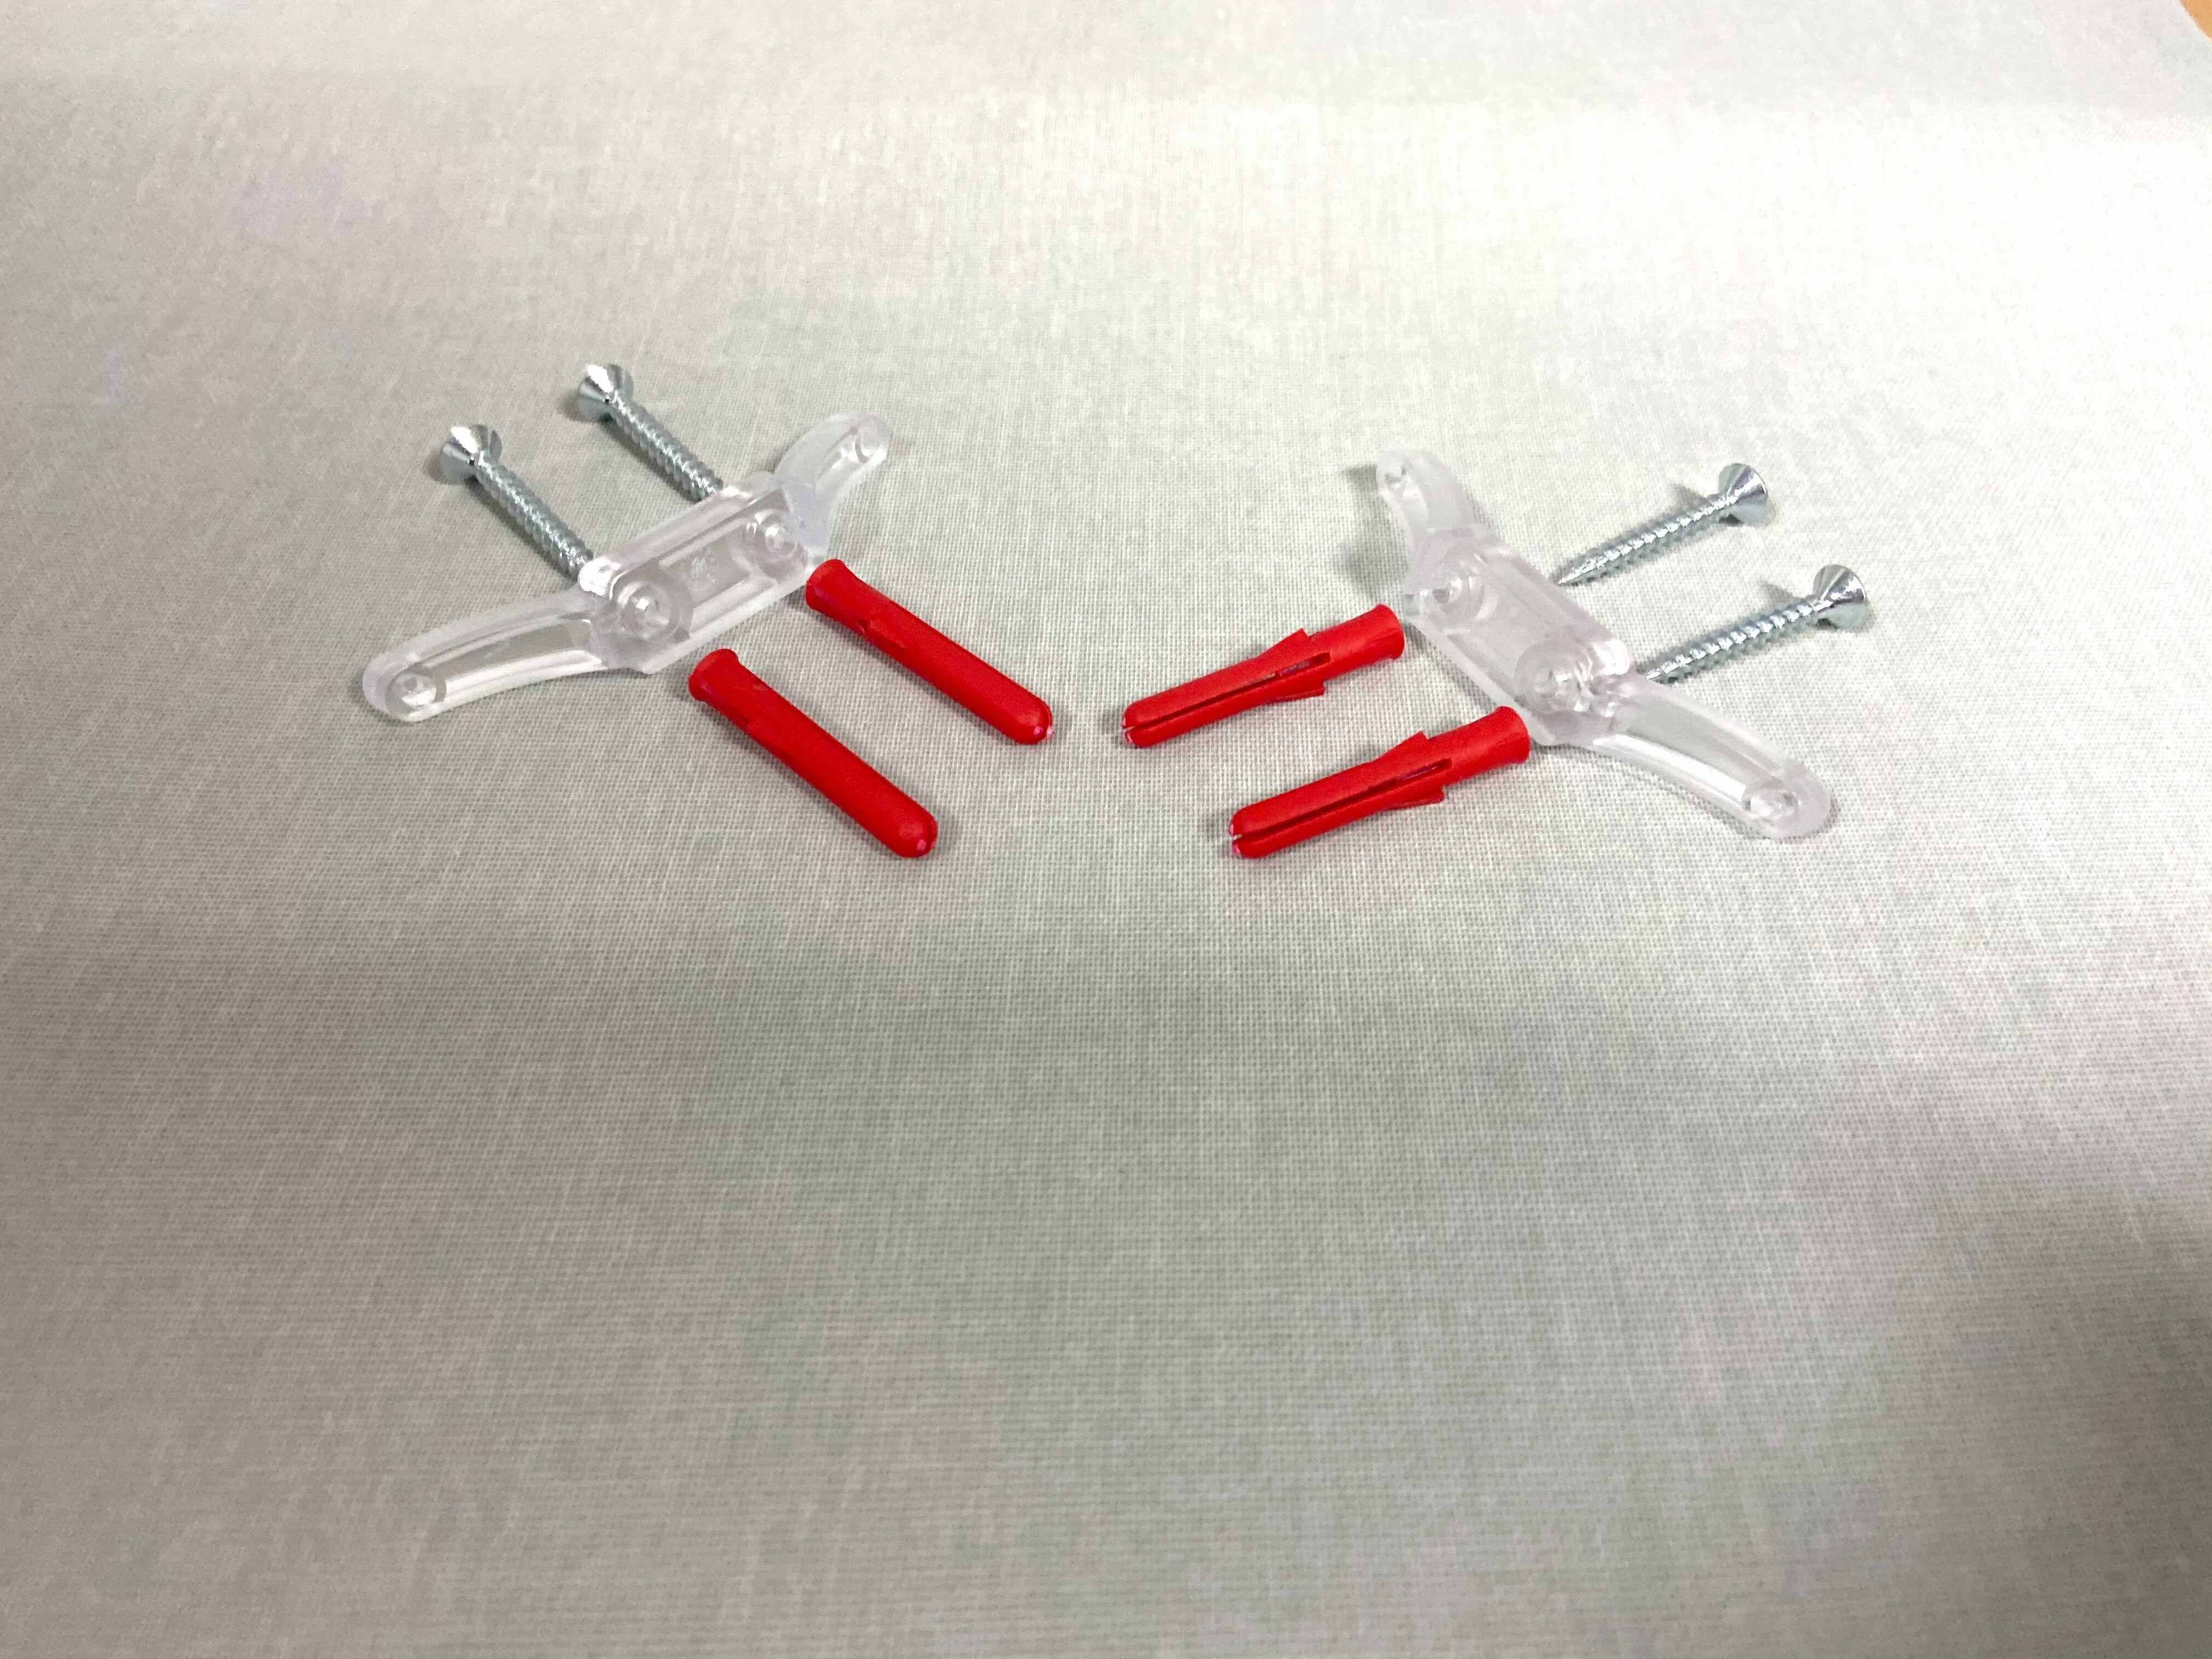
- If you’re fitting to a wall or lintel, use a drill with the suitable sized bit to make your holes, and push in wallplugs.
- If you’re fitting into a wooden frame, screw your brackets into position. You may want to make pilot holes to allow easier fixing of the screws.
- Fix the bracket into place and repeat on the other side of the blind. And that's the first step done already! Now that wasn't so bad was it?!

Step 2 - Fit the blind
- Open the locking arm on each bracket as far as it will go.
- Clip the front inside edge of the headrail onto the bracket, at a slight angle away from you, and push up into place at the back.
- Push the locking arms across into the closed position and check the blind is secure.


Step 3 - Fix the valance
- Fit the valance clips into the groove on the back of the valance at equal distance apart along it’s length.
- Line up the valance clips with the hooks on the blind. You can easily slide the hooks on the head rail to match the position of the hooks.
- Push the valance into place.
- To fit the valance returns to the sides of the valance (if required) slide the corner clips into position in the grove on the back of the valance.
- Push the valance returns onto the clip.
Step 4 - Fitting the safety cleat
- Safety cleats are designed to keep cords taut and out of reach of children – always wrap the cord around the cleat.
- Fix the safety cleat to the wall with 2 screws in a position that’s out of reach of children.
- Blinds that require a safety cleat must not be installed less than 1.5m from the floor.
Step 5 - Assemble the cord consolidator
- Note - the consolidator is designed to come apart to remove a hazardous loop.
- To reconnect the consolidator, check that it is not damaged, then re-insert the free cords as described below. If any slack cording appears above the consolidator, lower the blind so that it is straight and raise it again.
- Gather the loose cords together and align the knots.Gather the loose cords together and align the knots.
- Insert the knotted ends into the groove at the top of the consolidator, ensure that the knots are secured below the central panel.Insert the knotted ends into the groove at the top of the consolidator, ensure that the knots are secured below the central panel.
- Secure the two halves together.
You should now have correctly installed your Wooden Venetian Blind. Need a little more help? Just follow the diagrams on our helpful downloadable guide. There’s plenty of tips that are sure to get you started.
Like this blog post? You might also find our How to clean White Venetian blinds blog post helpful!
Shop our blinds

Roller Blinds
Wooden Blinds
Roman Blinds
Venetian Blinds
Daynight Blinds